How to DIY your phone case ? The whole phone case printing process video
What is the complete process of printing the mobile phone case for the UV printer?
Step 1: Edit the design you want to print and save the TIFF format in PHOTOSHOP.
If you have purchased the adapter, the company will generally provide you with the design of fixture cutter line drawings, as long as the cutter line drawings are fixed in the fixed position of the pattern to be printed.
If you didn’t buy a fixture: first you need to measure the length and width of the mobile phone shell, create a new file in PS according to the size of the mobile phone shell, and then import the pattern to be printed.
If there is no fixture but also want to print in batches. Generally, we recommend printing a block diagram on the printer platform before importing the pattern into the corresponding box.
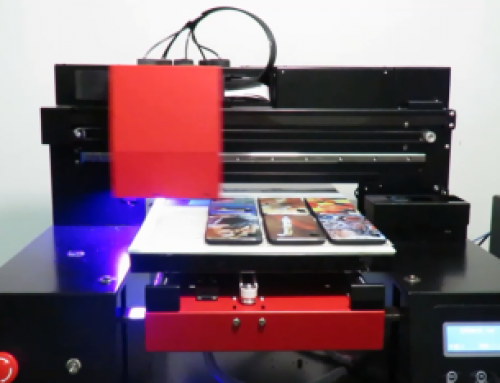
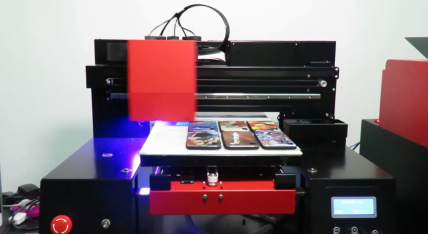
Step 2: Pup the mobile phone cases on the printer platform
If you have a fixture, place the mobile phone shell in the corresponding position on the fixture.
If there is no fixture, the mobile phone shell can be placed in the corresponding block diagram on the platform.
Step 3: Open the file to be printed with RIPRINT software (file in TIFF format). Click on “Print”, and the printer will start printing automatically.
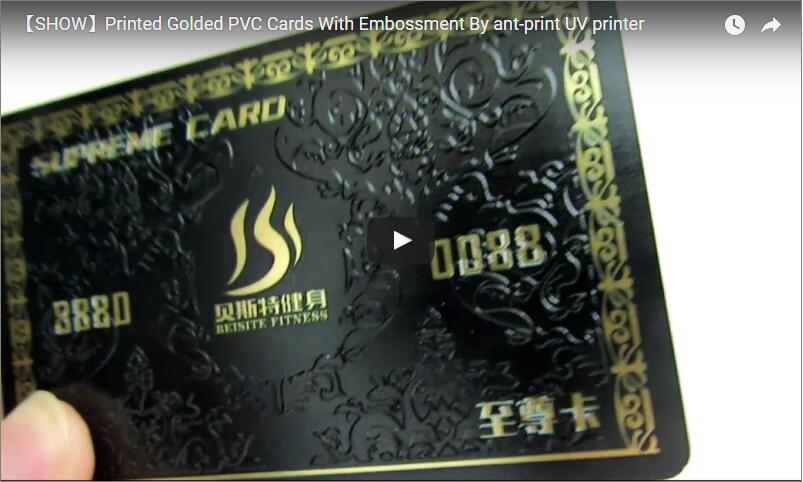
PS: Specific settings can be made according to the desired printing effect. For example, whether to print white ink, whether to print relief, whether to print more exquisite, etc.
